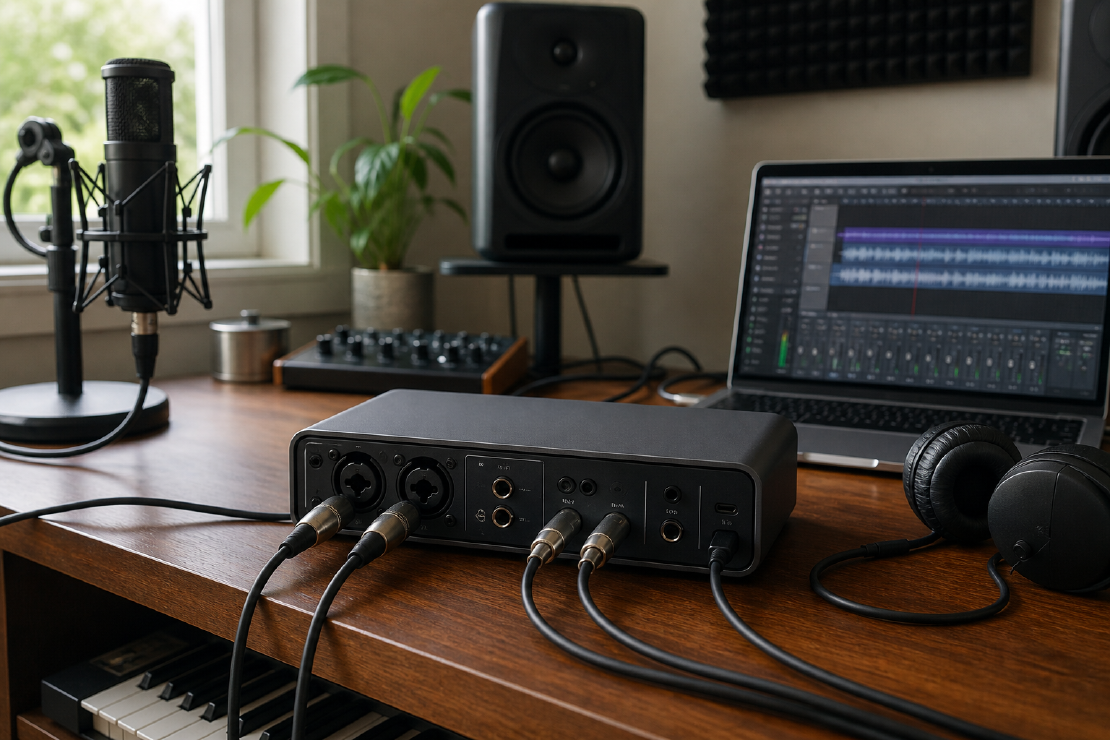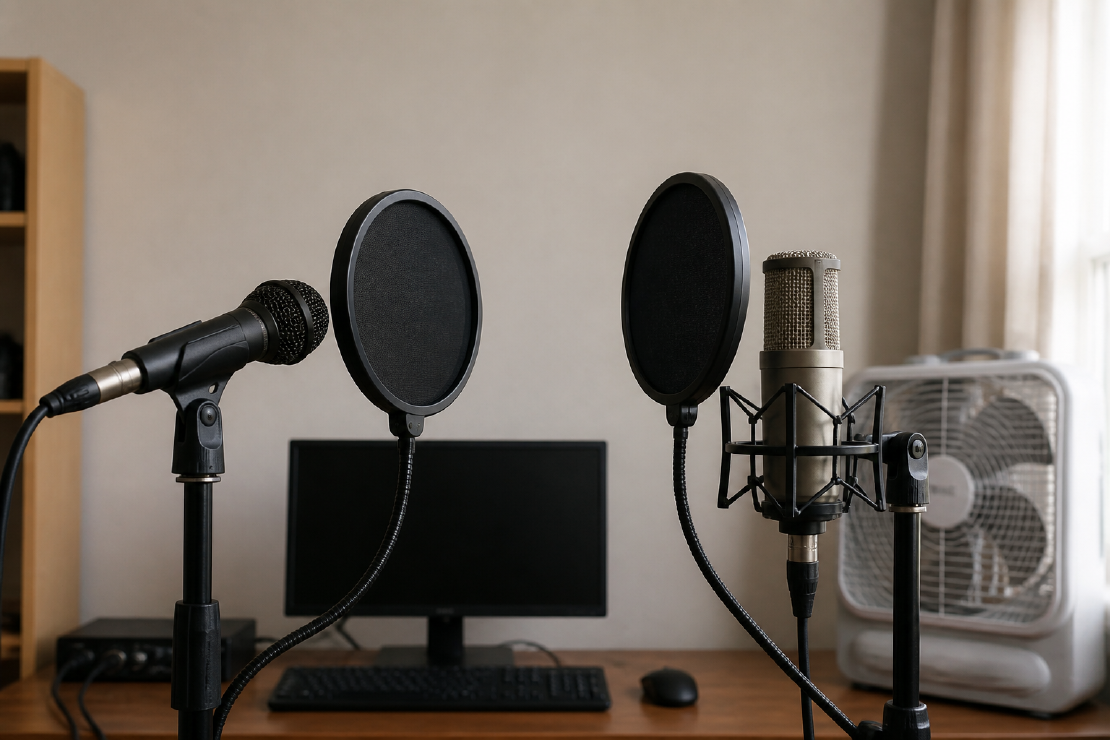
A dynamic microphone does not remove room reflections, and a condenser does not guarantee a particular level of recording quality. In an untreated room, sensitivity, working distance, placement and source level often matter more than the microphone category alone.
Test distance, placement and room noise before deciding whether another microphone is necessary.
The practical difference
Dynamic microphones use a diaphragm, coil and magnet. They are generally rugged, tolerate high sound levels and do not normally require phantom power.
Condenser microphones use an electrically charged diaphragm system with active electronics. They normally require phantom power or another power source, often have higher sensitivity and can capture more high-frequency detail.
Those are tendencies, not a guarantee that one design sounds better.
Why dynamics often work in poor rooms
For spoken voice or loud vocals, a dynamic microphone is commonly used close to the mouth. The wanted voice is strong relative to fan noise, traffic and room reflections. Lower sensitivity can also make the recording setup less revealing of quiet background noise.
The trade-offs:
- the performer must stay close and consistent;
- proximity effect can add excessive bass on directional microphones;
- some models need substantial clean preamp gain;
- moving a few centimetres can change the sound sharply.
If the interface becomes noisy at the required gain, an inline preamp may help, but it is not automatically necessary. Test the actual chain first.
Why condensers can still be right
A condenser can be the better tool for:
- acoustic instruments with fine transient detail;
- quieter sources;
- a controlled room;
- voice work where a natural, extended response matters;
- recording at a slightly greater distance when the room sounds good.
In a poor room, that sensitivity may capture computer fans, hard-wall reflections and traffic more clearly. The microphone is not causing the noise. It is revealing the recording environment.
Polar pattern matters
“Dynamic” and “condenser” describe operating principle. Cardioid, omnidirectional and figure-eight describe directional response. Do not confuse them.
A cardioid microphone rejects sound best from particular directions, but rejection varies by frequency and model. Aim the least sensitive area toward the main unwanted sound and keep reflective surfaces away from the sensitive front.
For a side-address condenser, check the manual to identify the active side before positioning it.
Placement beats foam squares
Before buying decorative acoustic foam:
- turn off fans or appliances that can be stopped safely;
- move away from bare corners and parallel hard walls;
- place soft, dense material behind or around the performer where it changes reflections;
- move the microphone closer while controlling plosives;
- test different orientations;
- record at a sensible level without clipping.
Thin foam mostly affects higher frequencies. It does not soundproof a room or stop traffic through a wall.
Choose by source
| Source | Useful starting point |
|---|---|
| Spoken voice in noisy room | Close dynamic cardioid |
| Loud rock vocal | Dynamic or suitable condenser, tested for rejection |
| Acoustic guitar in decent room | Small- or large-diaphragm condenser |
| Guitar amplifier | Dynamic close to speaker is a common practical start |
| Quiet detailed instrument | Condenser if room and noise permit |
| Two people at one desk | Two close microphones beat one distant “room” mic |
The table is a starting point. Placement can have a greater effect on the result than the price or category of the microphone.
Check the whole signal chain
Before buying, confirm:
- the interface has enough clean gain;
- phantom power is available if required;
- the connector is compatible;
- the stand can hold the microphone securely;
- a pop filter or windscreen is available for close voice;
- monitoring latency will not distract the performer;
- the room noise is low enough for the intended distance.
USB microphones combine the microphone and interface. They can be convenient, but expanding to several microphones or flexible monitoring can become awkward.
Run the same ten-minute comparison
Use the same spoken passage or musical phrase and match the recorded peak level closely enough that “louder” is not mistaken for “better.” Save the files with neutral names and listen without looking at the microphone model.
| Test | Keep constant | Listen for |
|---|---|---|
| Close position | Source, phrase and peak level | Plosives, proximity bass, mouth noise, preamp noise |
| Medium distance | Source, phrase and peak level | Balance of direct sound and room reflections |
| Main noise behind the microphone | Distance and gain | Fan, computer or street-noise rejection |
| Slightly off-axis | Distance and peak level | Tonal change and control of sharp consonants or instrument attack |
Repeat the test in the position where recording will actually happen. A shop demonstration in a treated room cannot answer how the microphone behaves beside a particular computer, wall or window.
The short answer
For close spoken voice in an untreated, noisy room, start by testing a cardioid dynamic microphone. For detailed instruments or a controlled recording space, a condenser often earns its sensitivity.
Neither type will remove traffic, computer noise or bare-wall reflections. Those issues require changes to the room, noise source or microphone placement.